- Advertising
- Bare Metal
- Bare Metal Cloud
- Benchmarks
- Big Data Benchmarks
- Big Data Experts Interviews
- Big Data Technologies
- Big Data Use Cases
- Big Data Week
- Cloud
- Data Lake as a Service
- Databases
- Dedicated Servers
- Disaster Recovery
- Features
- Fun
- GoTech World
- Hadoop
- Healthcare
- Industry Standards
- Insurance
- Linux
- News
- NoSQL
- Online Retail
- People of Bigstep
- Performance for Big Data Apps
- Press
- Press Corner
- Security
- Tech Trends
- Tutorial
- What is Big Data
How to Install ImageMagick in WHM
ImageMagick is an open source program that provides powerful tools for editing and converting images in hundreds of different file formats. It is very popular in the Linux community because PHP scripts can use its image manipulation features through an extension.
Since ImageMagick is used by many websites, system administrators are often asked to install the package. It is thus quite surprising that WHM developers have not included an easy way to configure it from the GUI. However, installing ImageMagick and its PHP extension is easy as you can see in this short tutorial.

Install the Required Packages
The ImageMagick packages can be installed quickly from the default repositories. Log in to the server as the root user through SSH or the cPanel Terminal and run the following command:
yum install ImageMagick ImageMagick-devel
Sometimes the command will generate an error, so another package must be installed as a prerequisite:
yum install pcre-devel
On Cloud Linux servers with CageFS active, there is one additional step required in order to make the binary available to users. From the command line, execute these commands:
cagefsctl --addrpm ImageMagick
cagefsctl --force-update
Install the PHP Extension
PHP needs the imagick extension in order to be able to work with ImageMagick. First of all, you have to know what PHP version you are using, which can be determined from the command line or from the cPanel account.
If a domain uses php 7.1 for example, run the following command:
/opt/cpanel/ea-php71/root/usr/bin/pecl install imagick
You can customize this command based on the required php version:
/opt/cpanel/ea-phpXX/root/usr/bin/pecl install imagick
Restart the Apache service (and php-fpm, if active) in order for the extension to become active.
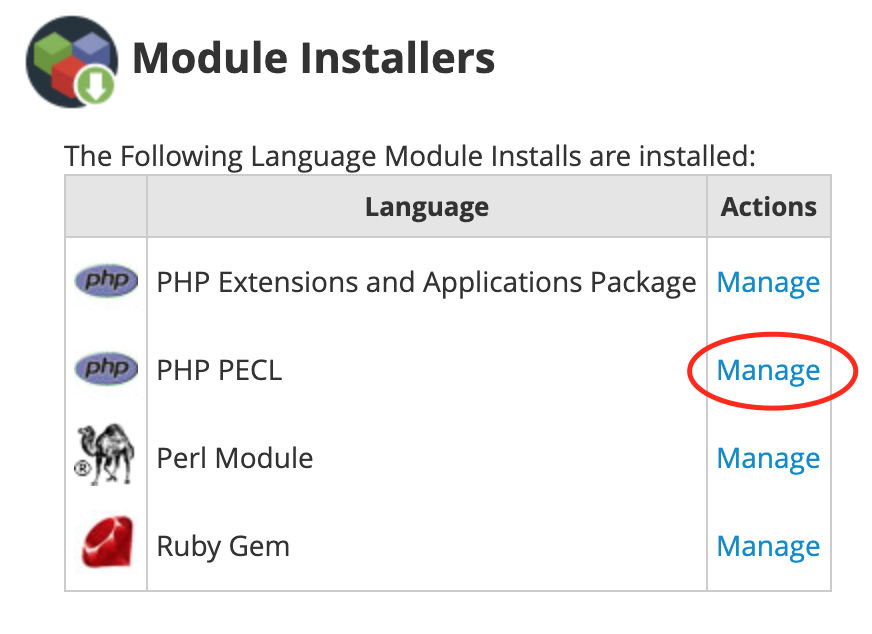
You can also install the extension from WHM. Navigate to Home - Software - Module Installers, then click on the Manage button next to PHP Pecl.
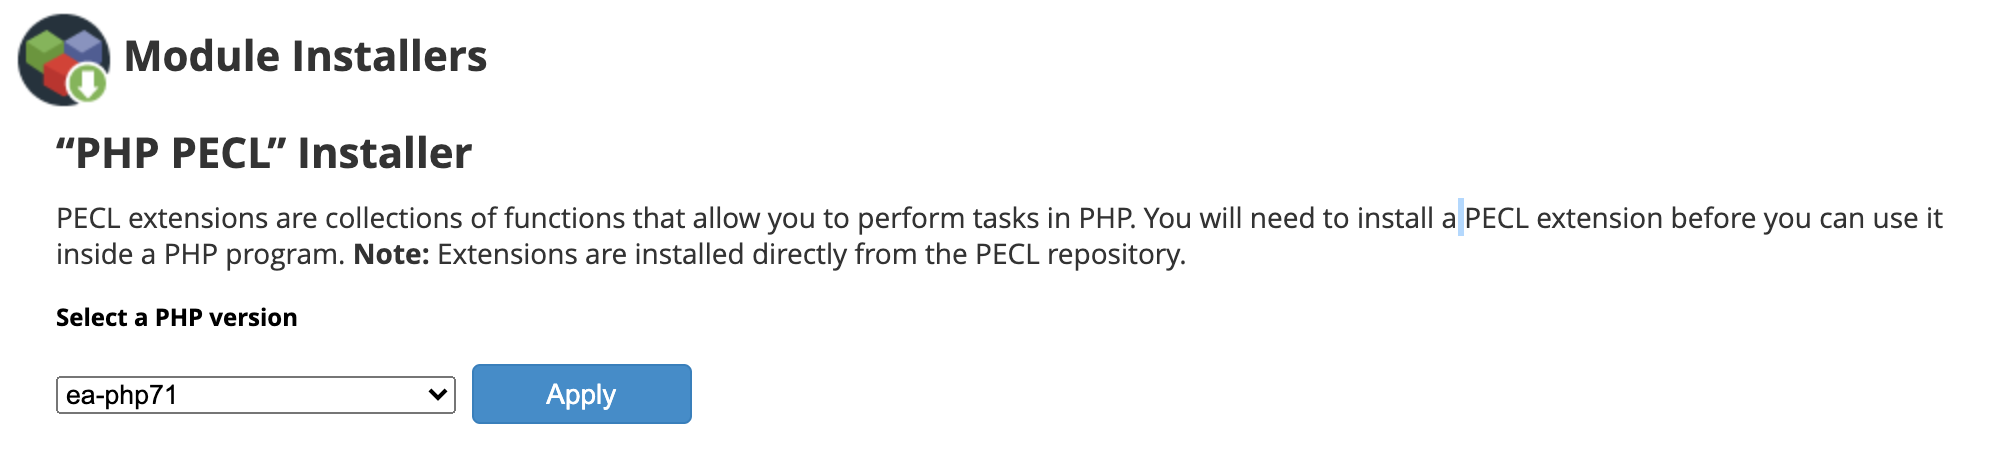
In the next screen, select the required PHP version, then click Apply.
You can now enter “imagick” in the Install a PHP Pecl field, and click the Install Now button.
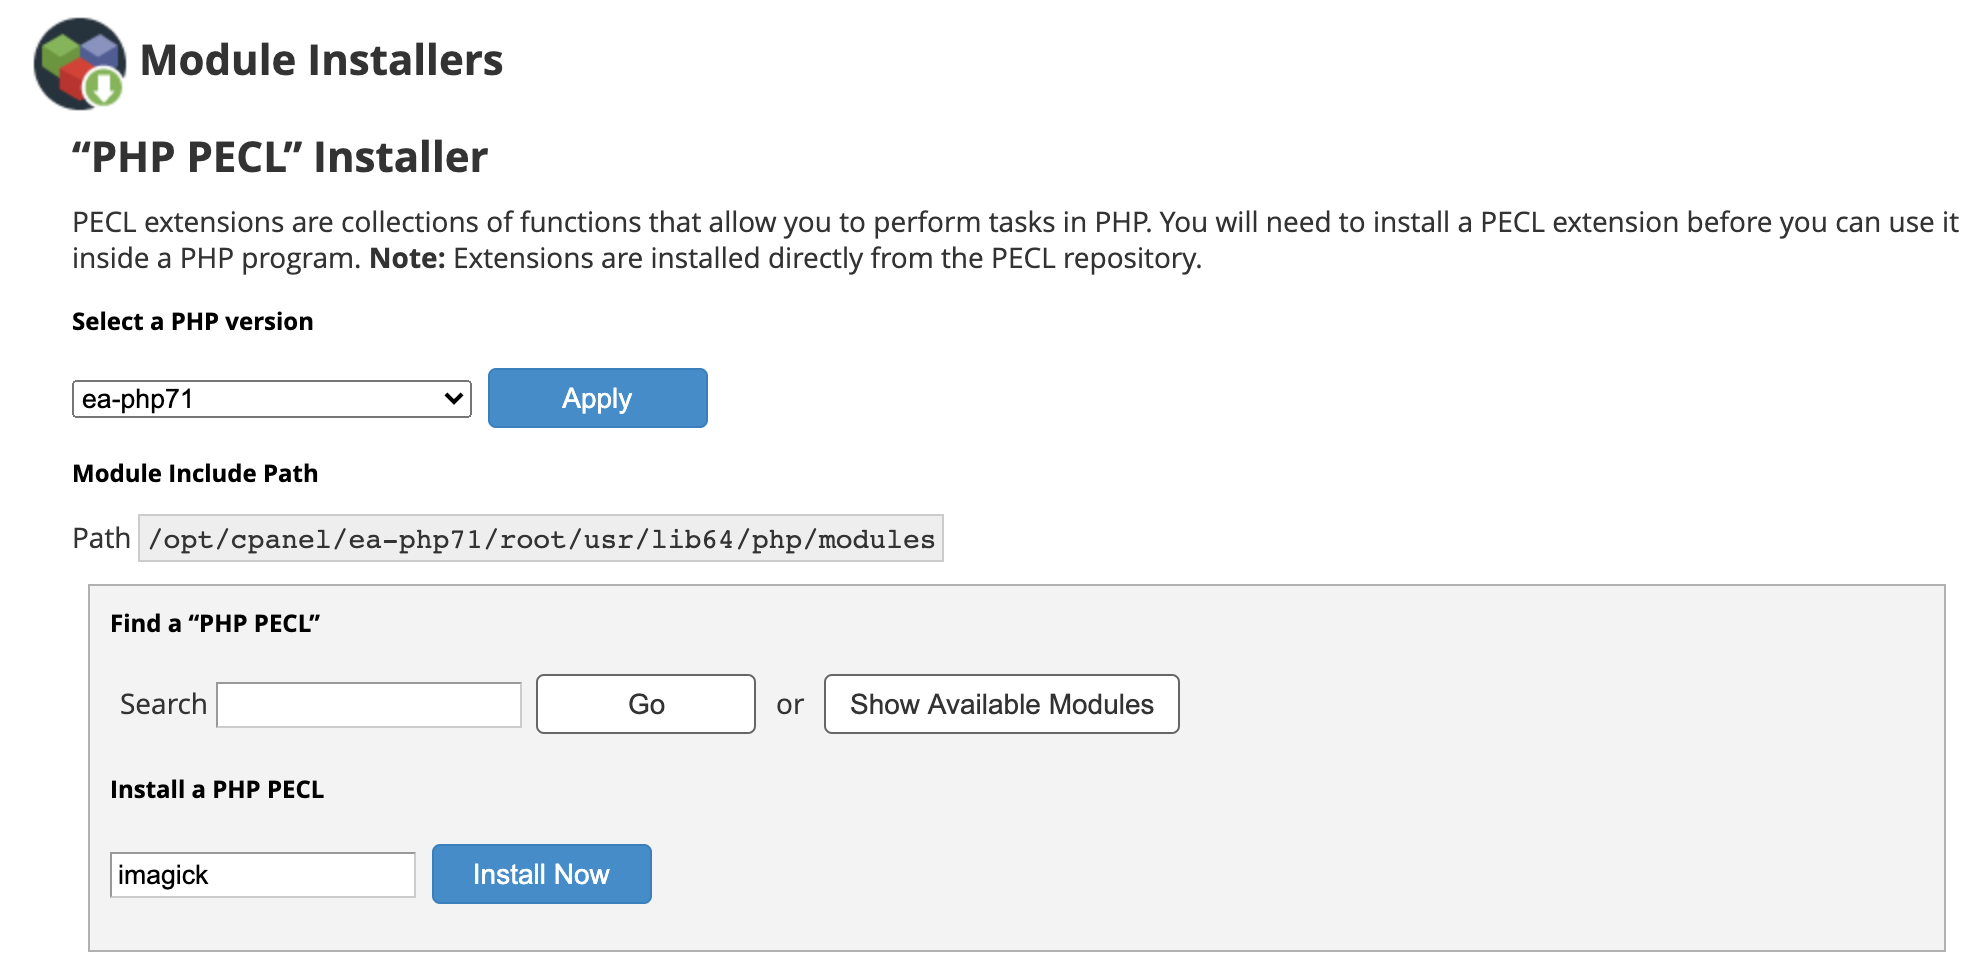
The extension should be compiled quickly, look at the bottom of the log on the screen for the confirmation that it was built successfully.

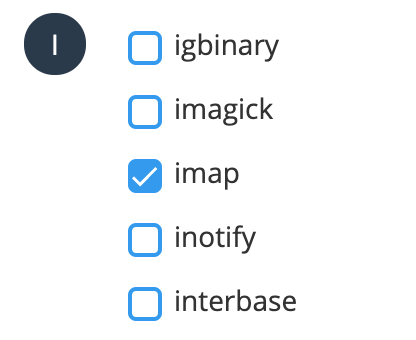
If your server uses Cloud Linux with CageFS and alt-php enabled, the imagick extension is already installed and configured.
You just have to activate it from cPanel’s PHP Selector, click for the imagick checkbox in the Extensions tab.
In order to test if the extension is active, you can do so by creating an info.php file. Open it in a browser and look for the ImageMagick extension - if it works it should be in this list.
Installing ImageMagick is a routine task for WHM system administrators. Feel free to contact one of our Linux specialists for an advice if you encounter any errors during the installation process.
About the Author
Dragos Baldescu is a Level 2 Technical Support Engineer at Bigstep, passionate about Linux and testing out new technologies and solutions.
Readers also enjoyed:

A Rookie Sysadmin’s Guide to Troubleshooting Wordpress


Leave a Reply
Your email address will not be published.