- Advertising
- Bare Metal
- Bare Metal Cloud
- Benchmarks
- Big Data Benchmarks
- Big Data Experts Interviews
- Big Data Technologies
- Big Data Use Cases
- Big Data Week
- Cloud
- Data Lake as a Service
- Databases
- Dedicated Servers
- Disaster Recovery
- Features
- Fun
- GoTech World
- Hadoop
- Healthcare
- Industry Standards
- Insurance
- Linux
- News
- NoSQL
- Online Retail
- People of Bigstep
- Performance for Big Data Apps
- Press
- Press Corner
- Security
- Tech Trends
- Tutorial
- What is Big Data
Why and How to Set Up a Private Chat Server for Your Small Business or for Gaming
The coronavirus pandemic has forced companies to work from home and the need for chat applications is higher than ever before. With security issues around popular chats and video apps, some businesses might want to turn to private chat servers, which are already a standard in gaming. Let’s see how you can easily setup your own private chat for your communication needs using Mumble.

Chat applications have many uses, in business, the gaming world, as well as for the communities of people who want to stay in touch securely. While large enterprises already had internal communication systems in place, small businesses had to quickly adapt to a situation that tends to become the new normal.
With companies trying to lower costs, the cheapest and safest option would be to create and manage your own private chat server. Hosting and configuring your own chat server provides many benefits, but many hold back believing the installation process is difficult. However, the setup is easier than one might think.
The easiest way to get such an application is to subscribe to an external provider that handles hosting and app configuration, as well as maintenance. Nevertheless, hosting your own chat server brings more advantages, such as improved privacy, lower costs, and the freedom to configure it as you wish.
In this tutorial, we will setup a Mumble server on a small VPS running Ubuntu 18.04. We will assume that you have root or sudo access to the machine.
Installing Mumble
Start by running a general update, in order to make sure that all packages are up to date:
sudo apt update
sudo apt upgrade
You can now add the Mumble repository, and refresh the package list again:
sudo add-apt-repository ppa:mumble/release
sudo apt-get update
The Mumble server can now be installed and configured with these commands:
sudo apt-get install mumble-server
sudo dpkg-reconfigure mumble-server
Configuring the Server
There are a number of choices during the package configuration, let’s see what the options are.
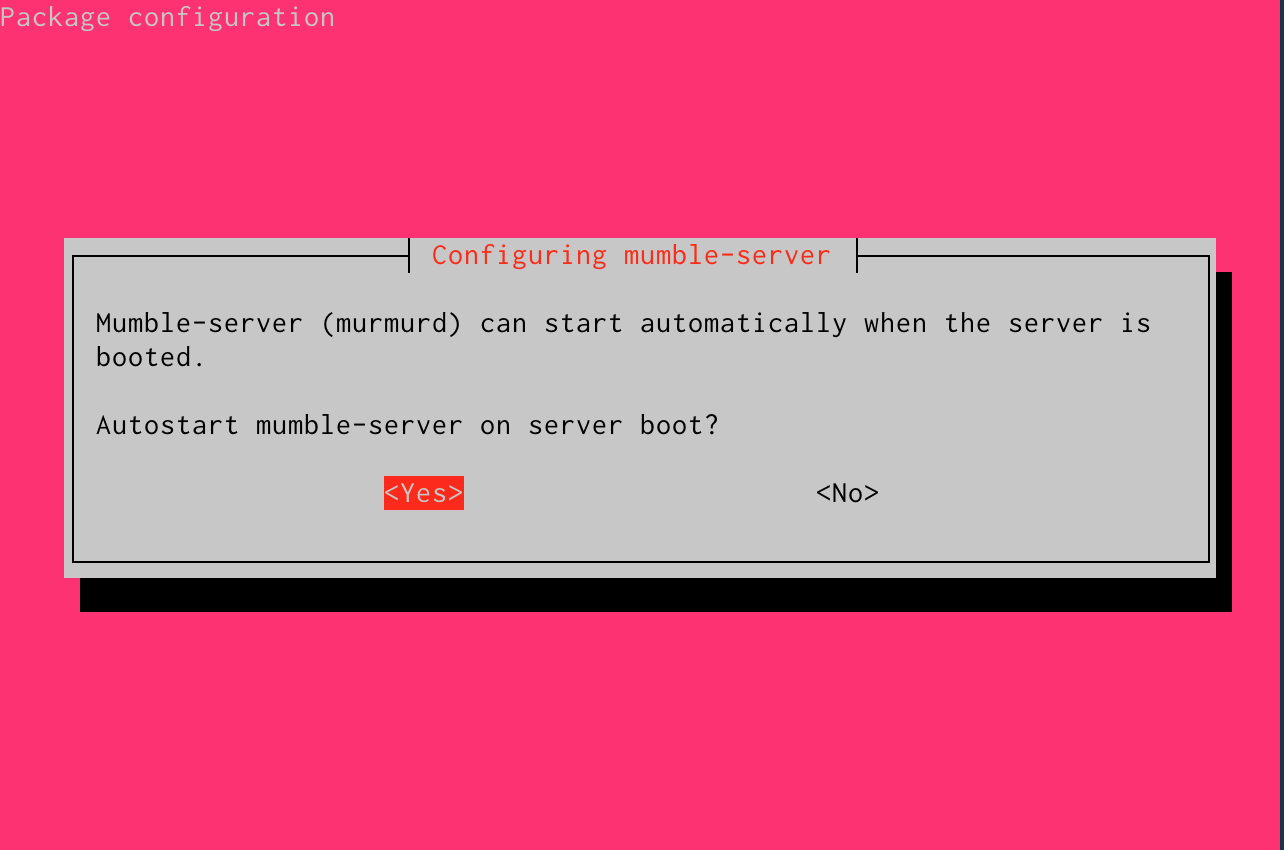
The first option is to have the Mumble server, known as Murmur, autostart at boot, which is what we want.
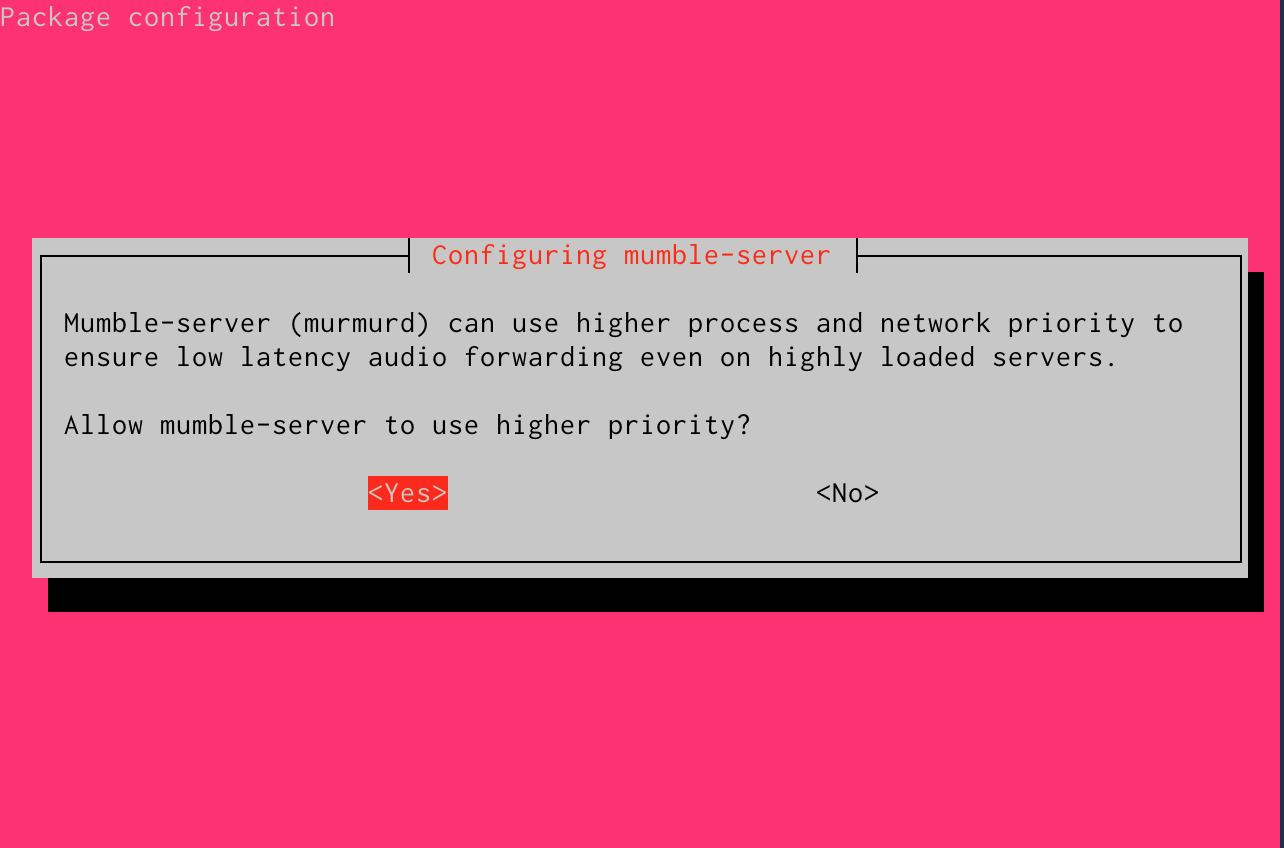
Then, assign a higher priority to the process, so it can use more hardware and network resources.
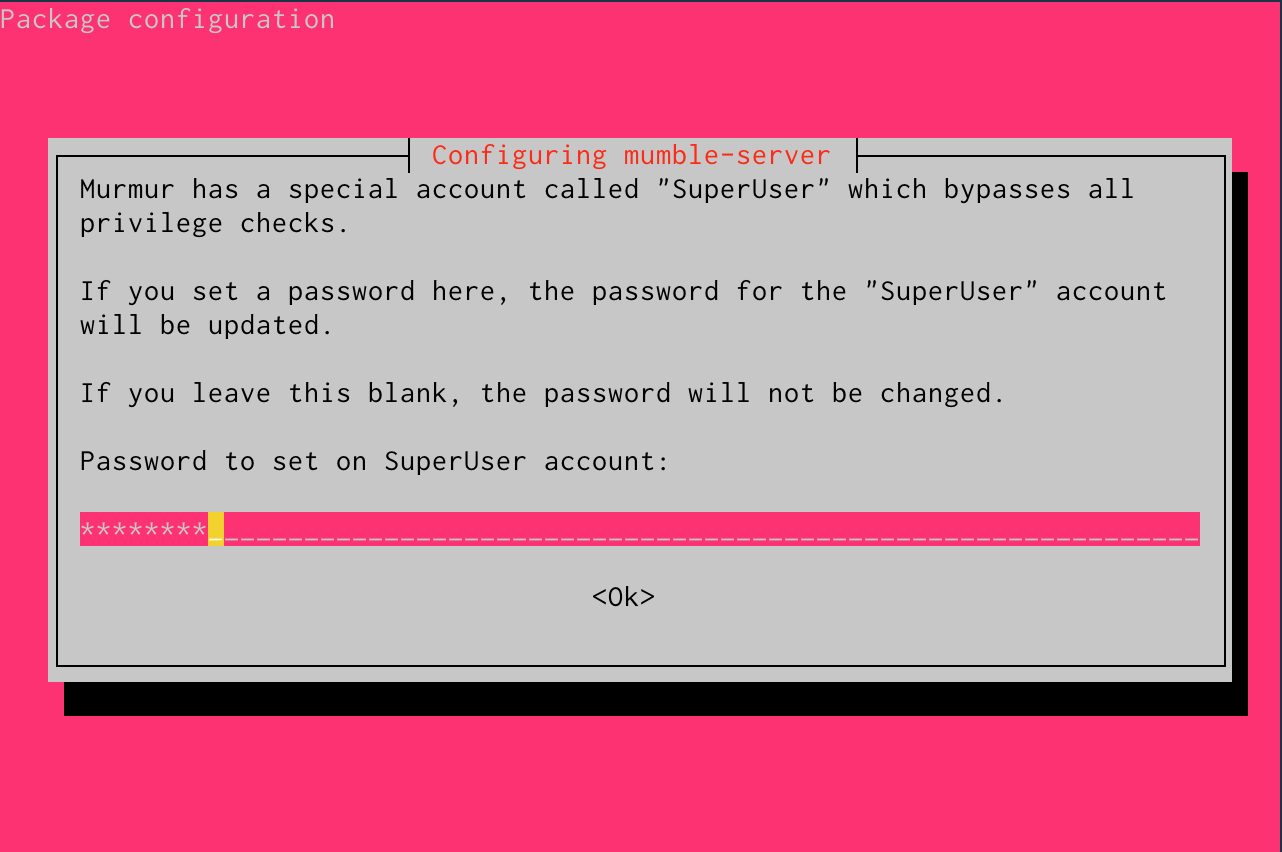
In the next and final step, you can setup a SuperUser account that has all privileges on the server.
Advanced settings
Before starting the service, let’s look at its more advanced settings. Open the main configuration file with your favorite text editor:
vim /etc/mumble-server.ini
There are many options that can be configured from this file. Some of them are commented out, just remove the preceding “;” character in order to enable them. The file also includes very useful comments that explain each setting, make sure that you read them carefully.
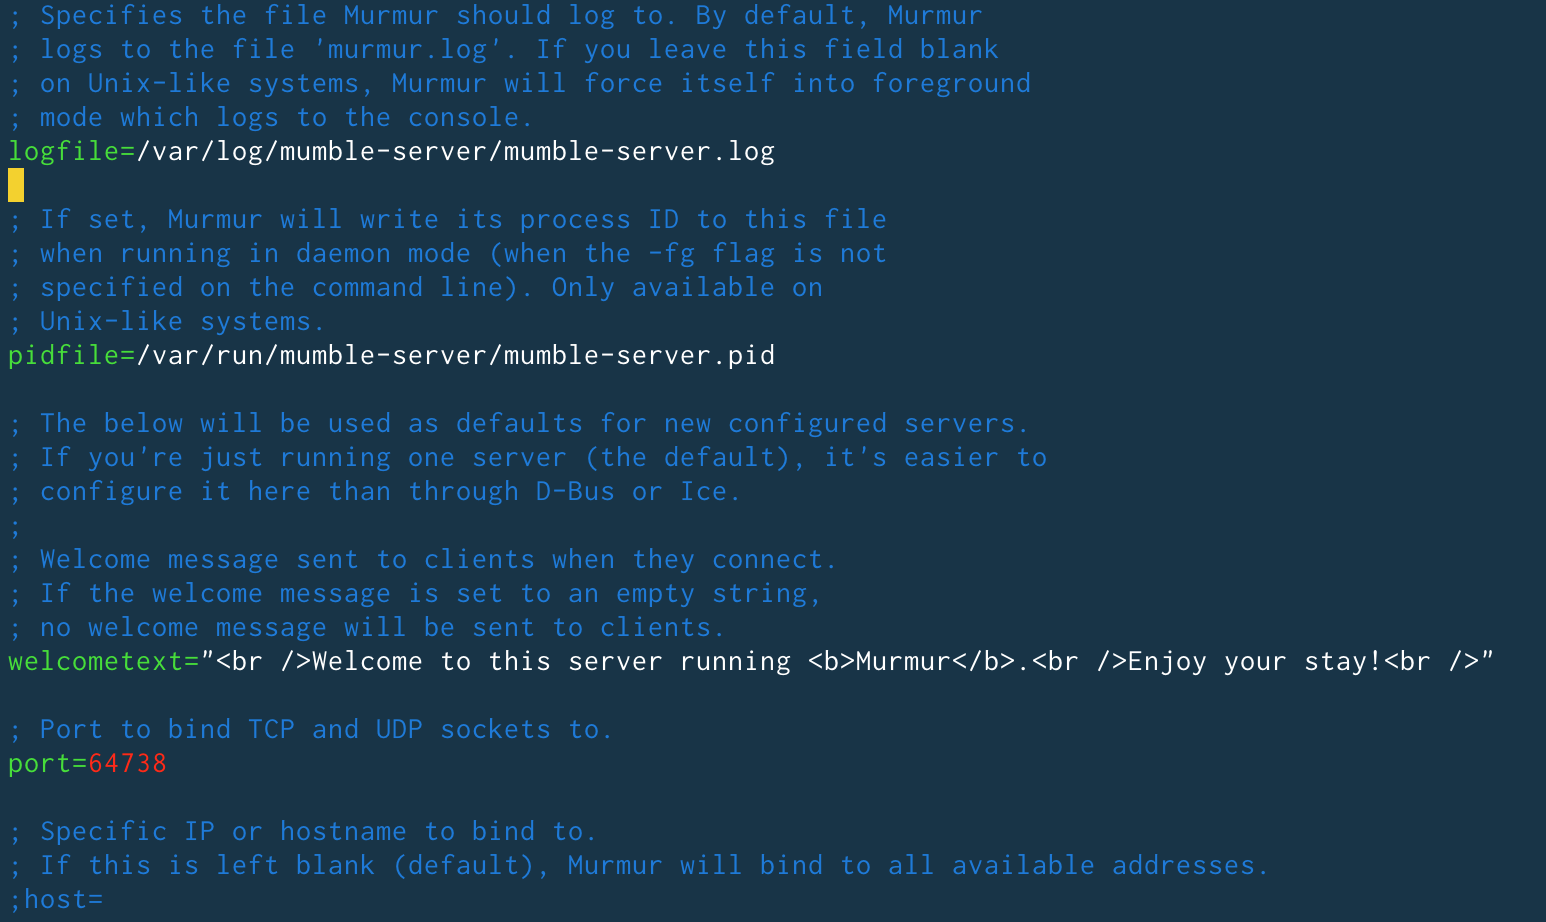
Some of the most important parameters to configure here are:
- the general password required to join the server;
- autoban settings that protect against intrusion attempts;
- username and channel name validation rules;
- the welcome text.
It is also recommended to setup a proper security certificate, instead of the one that is generated automatically. After saving your changes, start the Mumble server:
systemctl start mumble-server
Connect to your Mumble server
The Mumble client is available for Windows, Mac and Linux operating systems and can be downloaded for free from the official page.
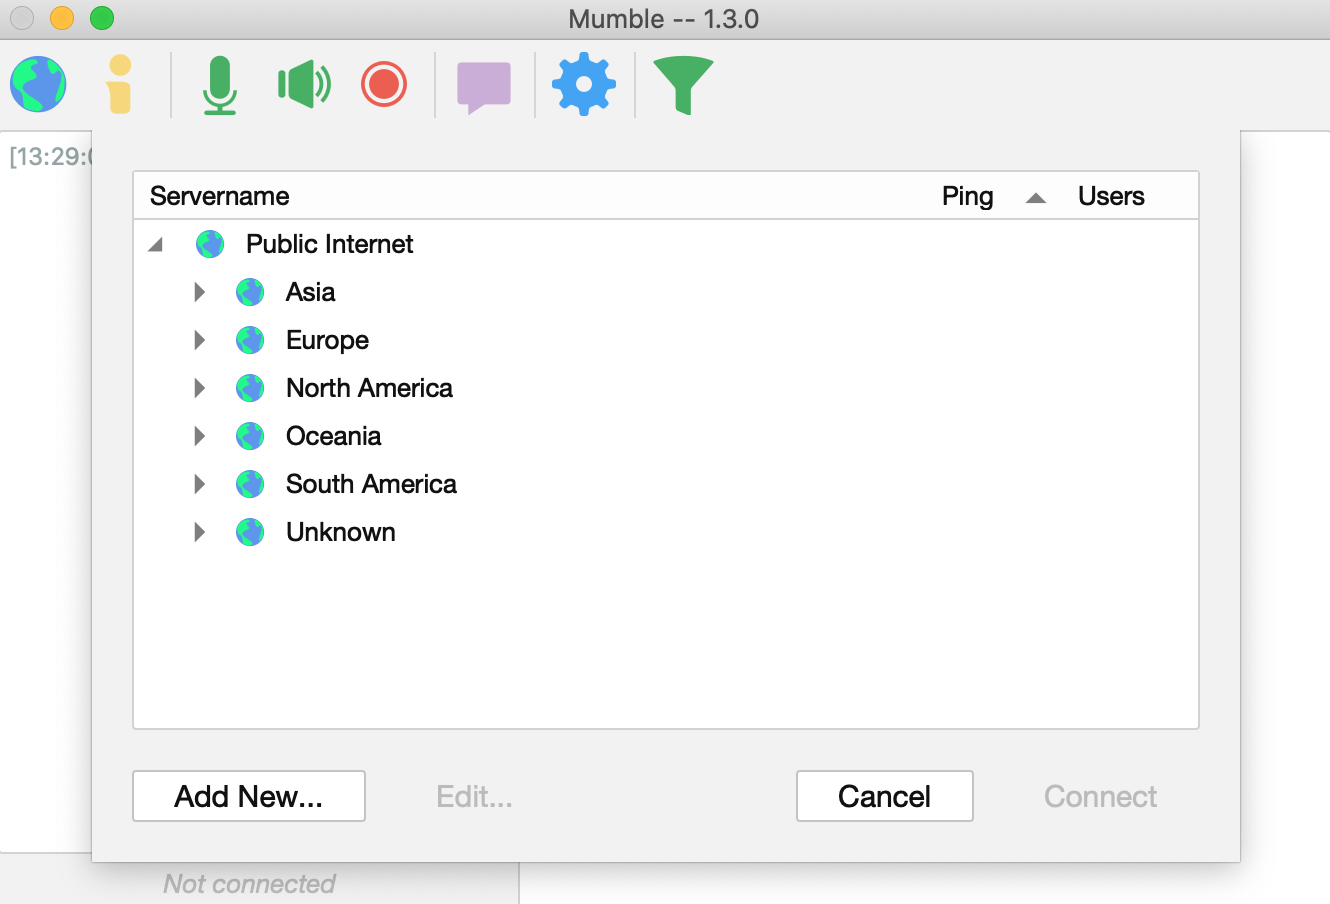
Open the client and go through the audio wizard. You then have to configure connection to the server, so click on the Add New button.
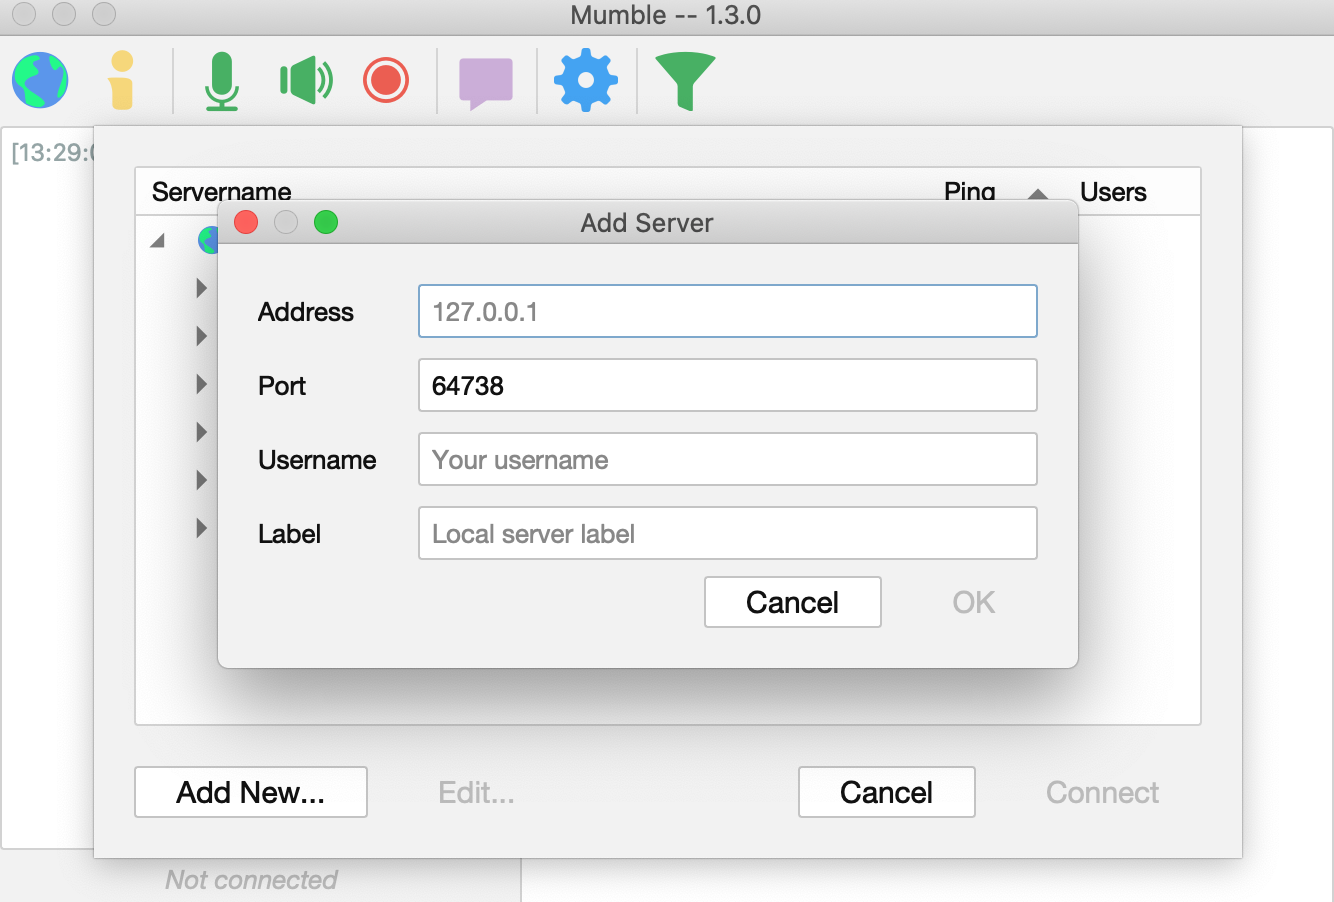
Enter the server IP, your username, and a label for the server. If you did not change the default port, leave it as it is.
You can now select the server and click Connect; use the SuperUser account if you want to configure channels, ban users, or for any other administration tasks.
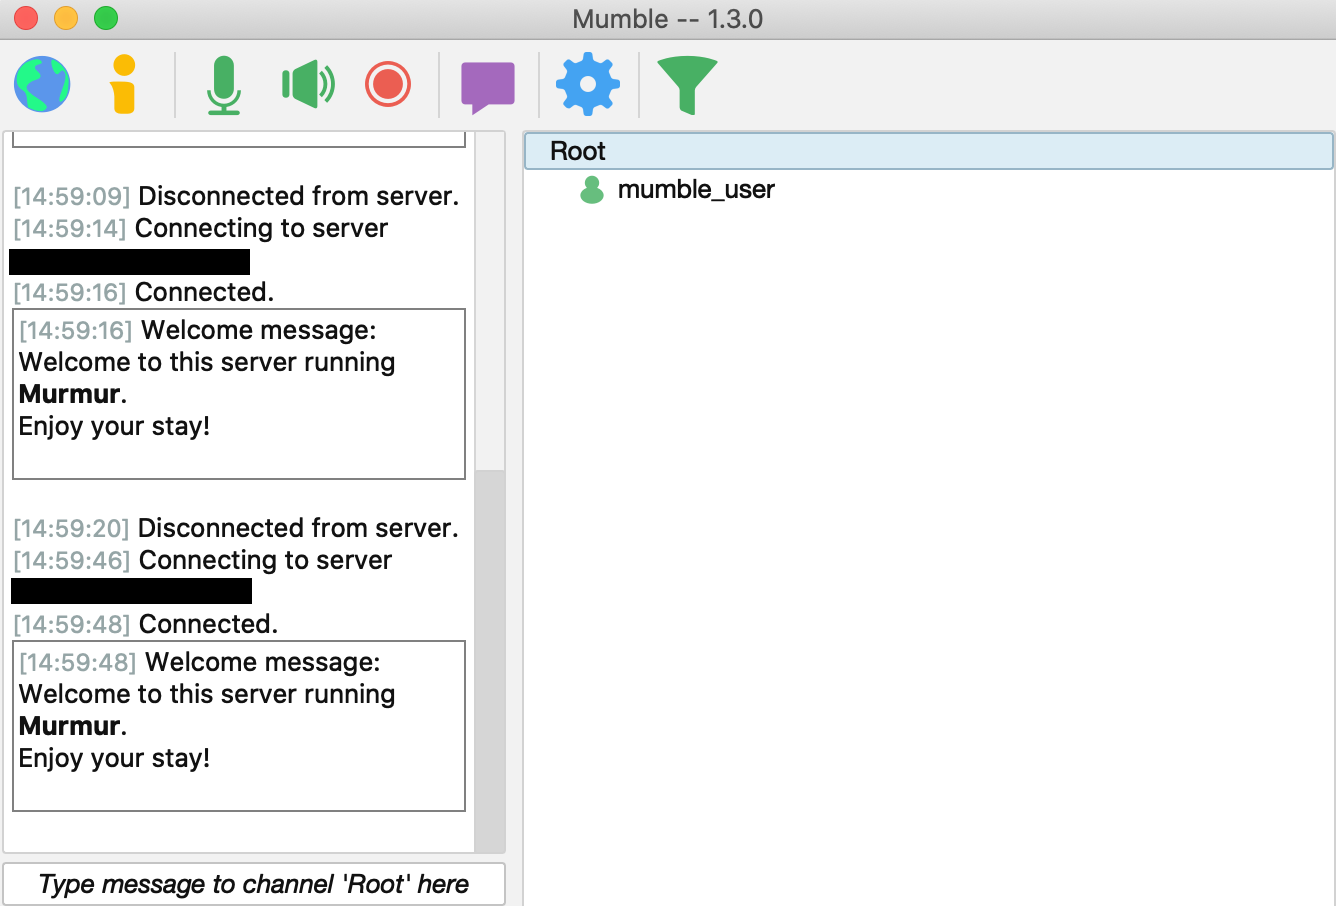
Congratulations, you now have a self-hosted and fully functional private chat server!
Finding it too complicated to deal with on your own? In need of a high performance server? We’re here to help. Contact us anytime for dedicated bare metal servers and top-notch service.
About the Author
Dragos Baldescu is a Level 2 Technical Support Engineer at Bigstep, passionate about Linux and testing out new technologies and solutions.
Readers also enjoyed:

The Bare Facts: What Businesses Have to Gain with Dedicated Servers

Leave a Reply
Your email address will not be published.